Pollinators, like butterflies and bees, are under threat worldwide. The little helpers are dying from pesticides, habitat loss, disease, and climate change. According to Conserve Wildlife NJ, Monarch Butterflies have declined 90%, a species staple to South Jersey.
Pollinators play a role in our daily lives without being seen each day. They sustain the plants that keep your local neighborhood pretty, and the ones you use for clothes and eating.
Each person may not be able to stop a disease from killing these insects, or may not use pesticides, but individuals can quickly help try and fight back against the impacts of habitat loss and climate change. How? Planting a native pollinator garden–simple, easy, and quick.
Before a step-by-step guide, you must find the most important information–what plants are native to your area. A great place to start is the Xerces Society website. It has an expansive PDF list that covers each region and state of America, where you can easily find the native pollinator plants of your local area.
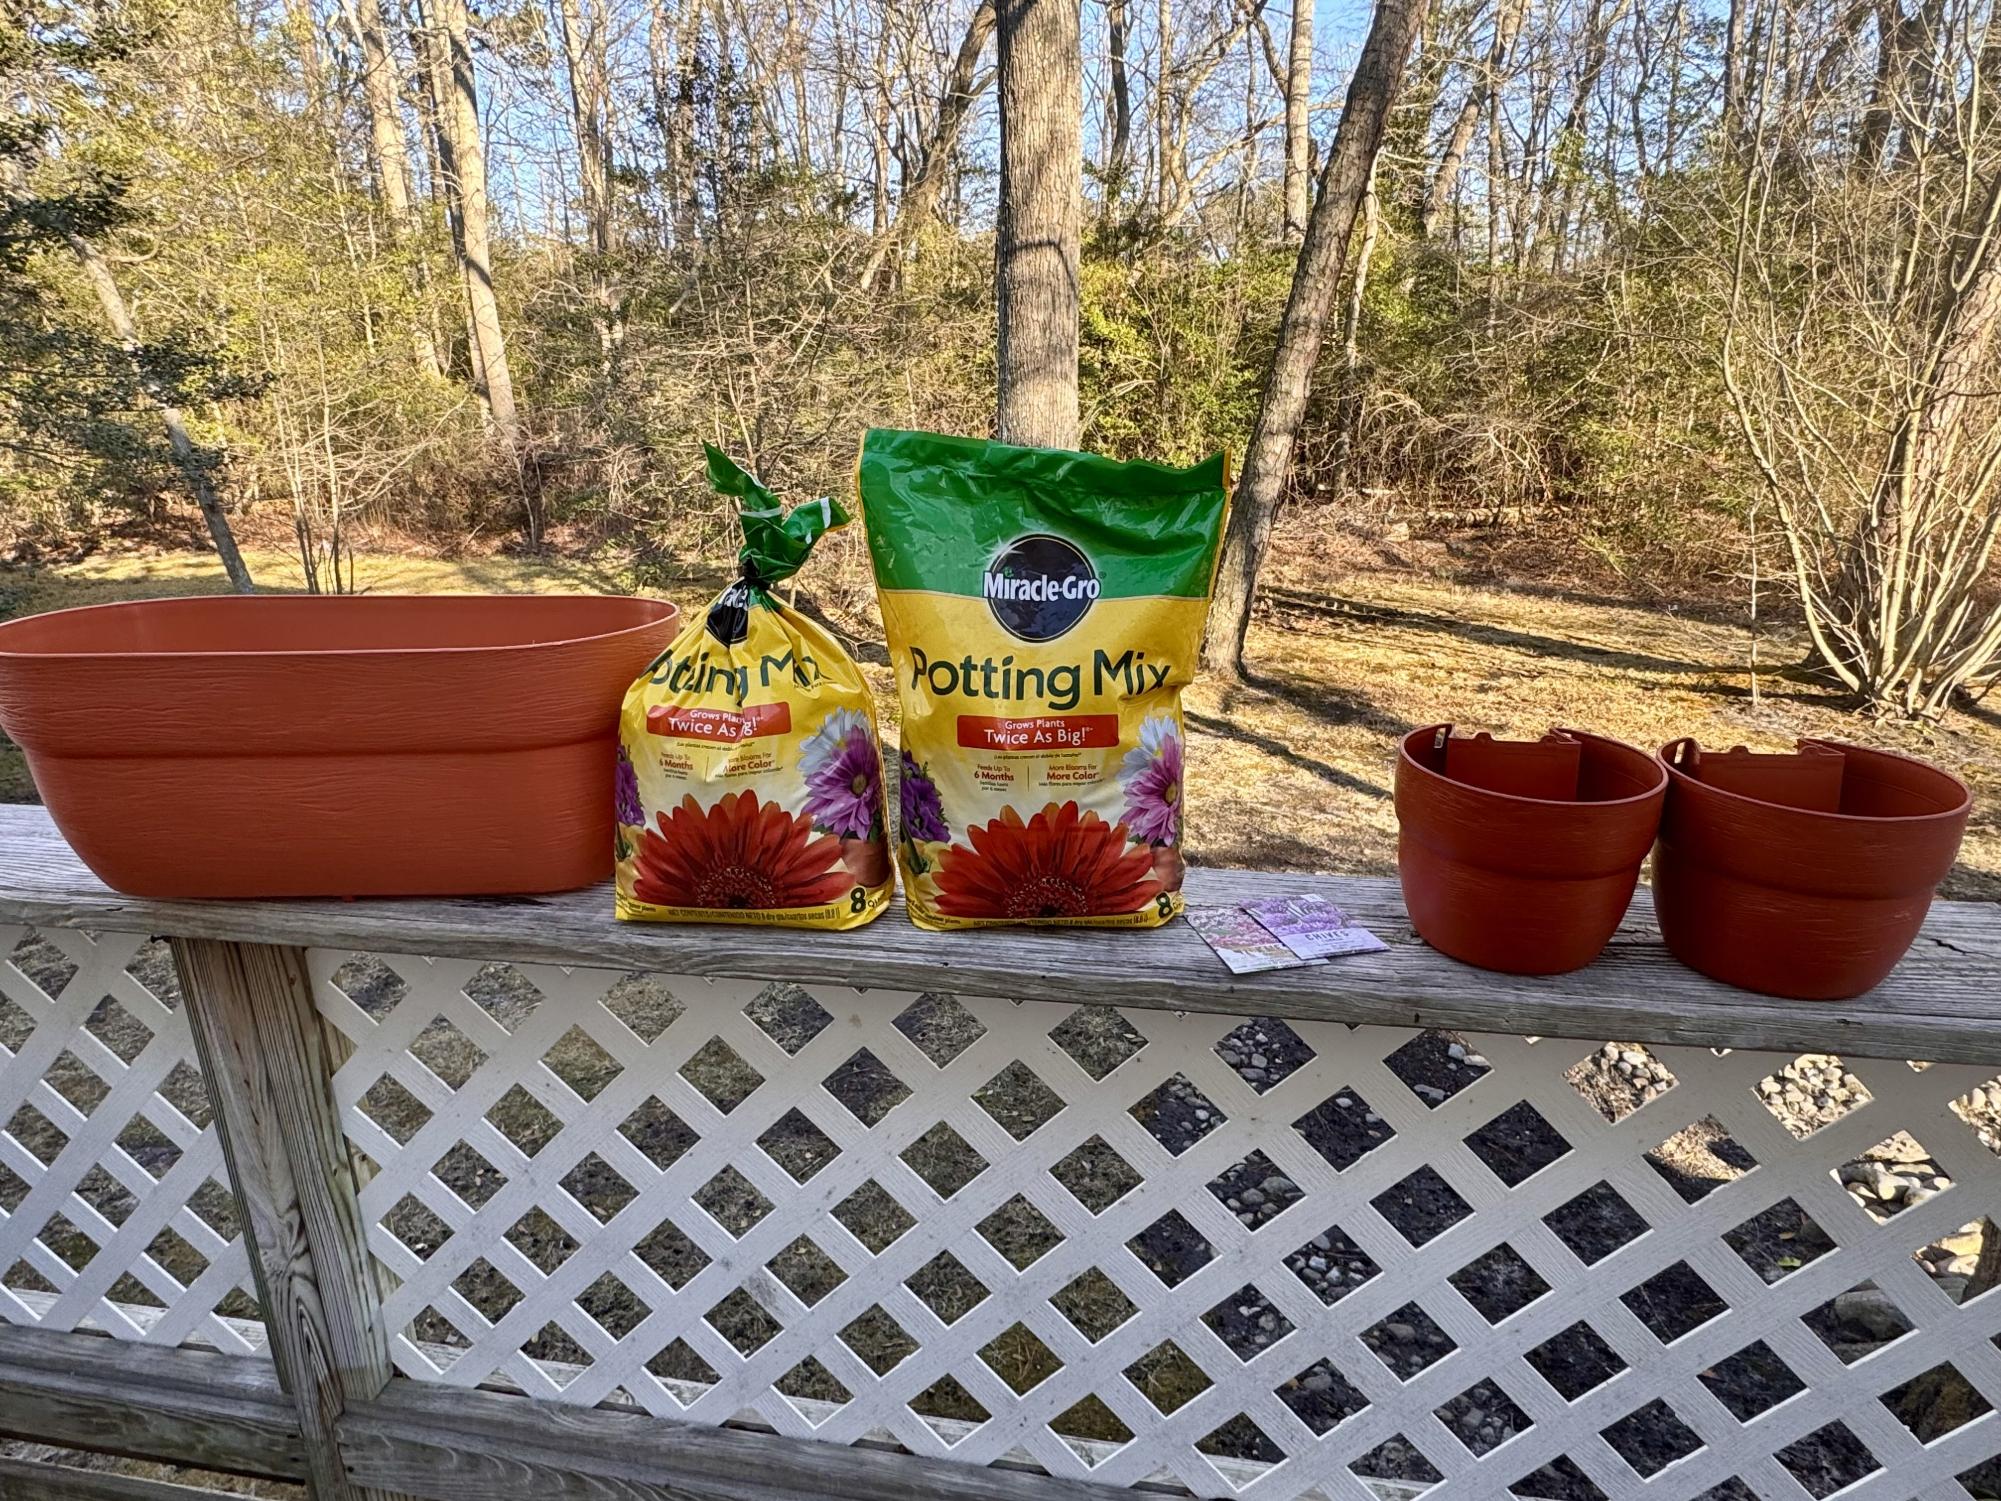
Materials (Required):
- Pots (at least 8-12 inches deep, with drainage holes)
- Native plant seeds or seedlings
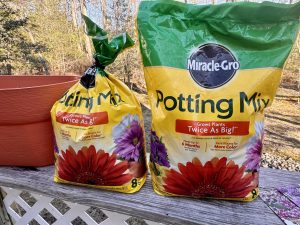
- Potting soil (well-draining)
- Compost or mulch (for nutrients and moisture retention)
- Rocks (small pebbles are the best)
(Optional):
- Bee hotels – Drill holes in a small wood block for solitary bees.
- Shallow water dish with stones – Helps butterflies drink safely.
-
When selecting the pots, make sure they have drain holes. This helps prevent root rot, so if yours do not, drill some in! (Shayne Crowley)
-
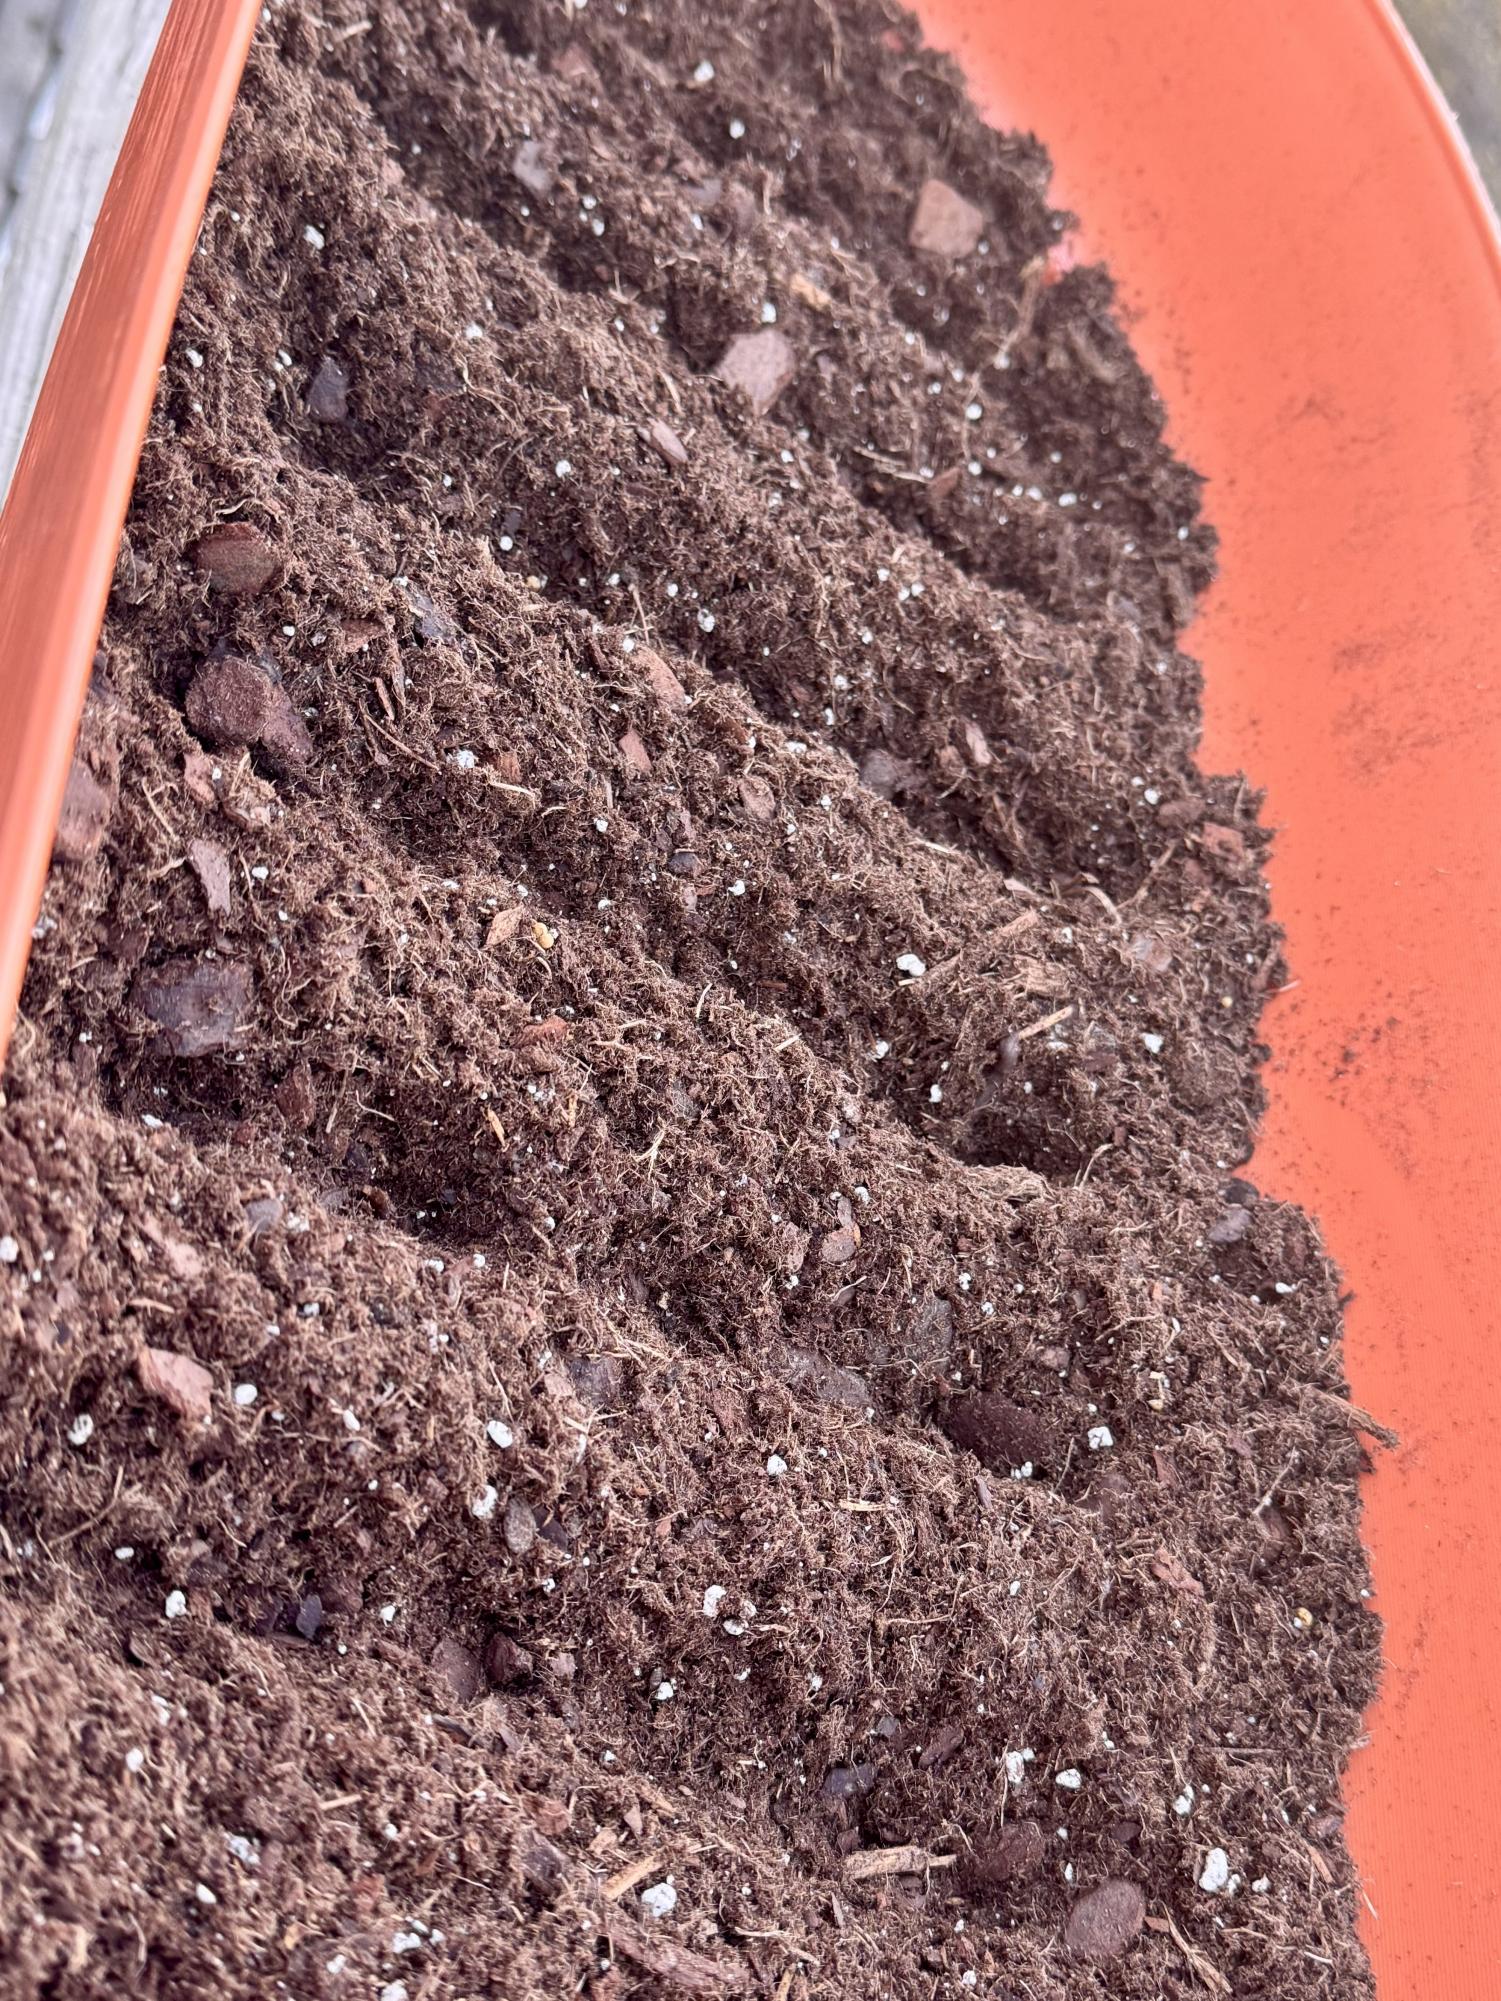
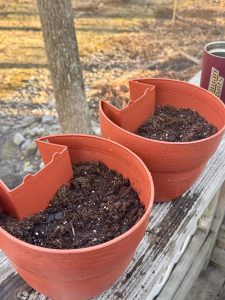
Fill your pot with your choice of potting soil (mixed with compost for nutrients if you can). (Shayne Crowley)

-
Here are quick and easy steps to creating your own pollinator garden. (Shayne Crowley)

-
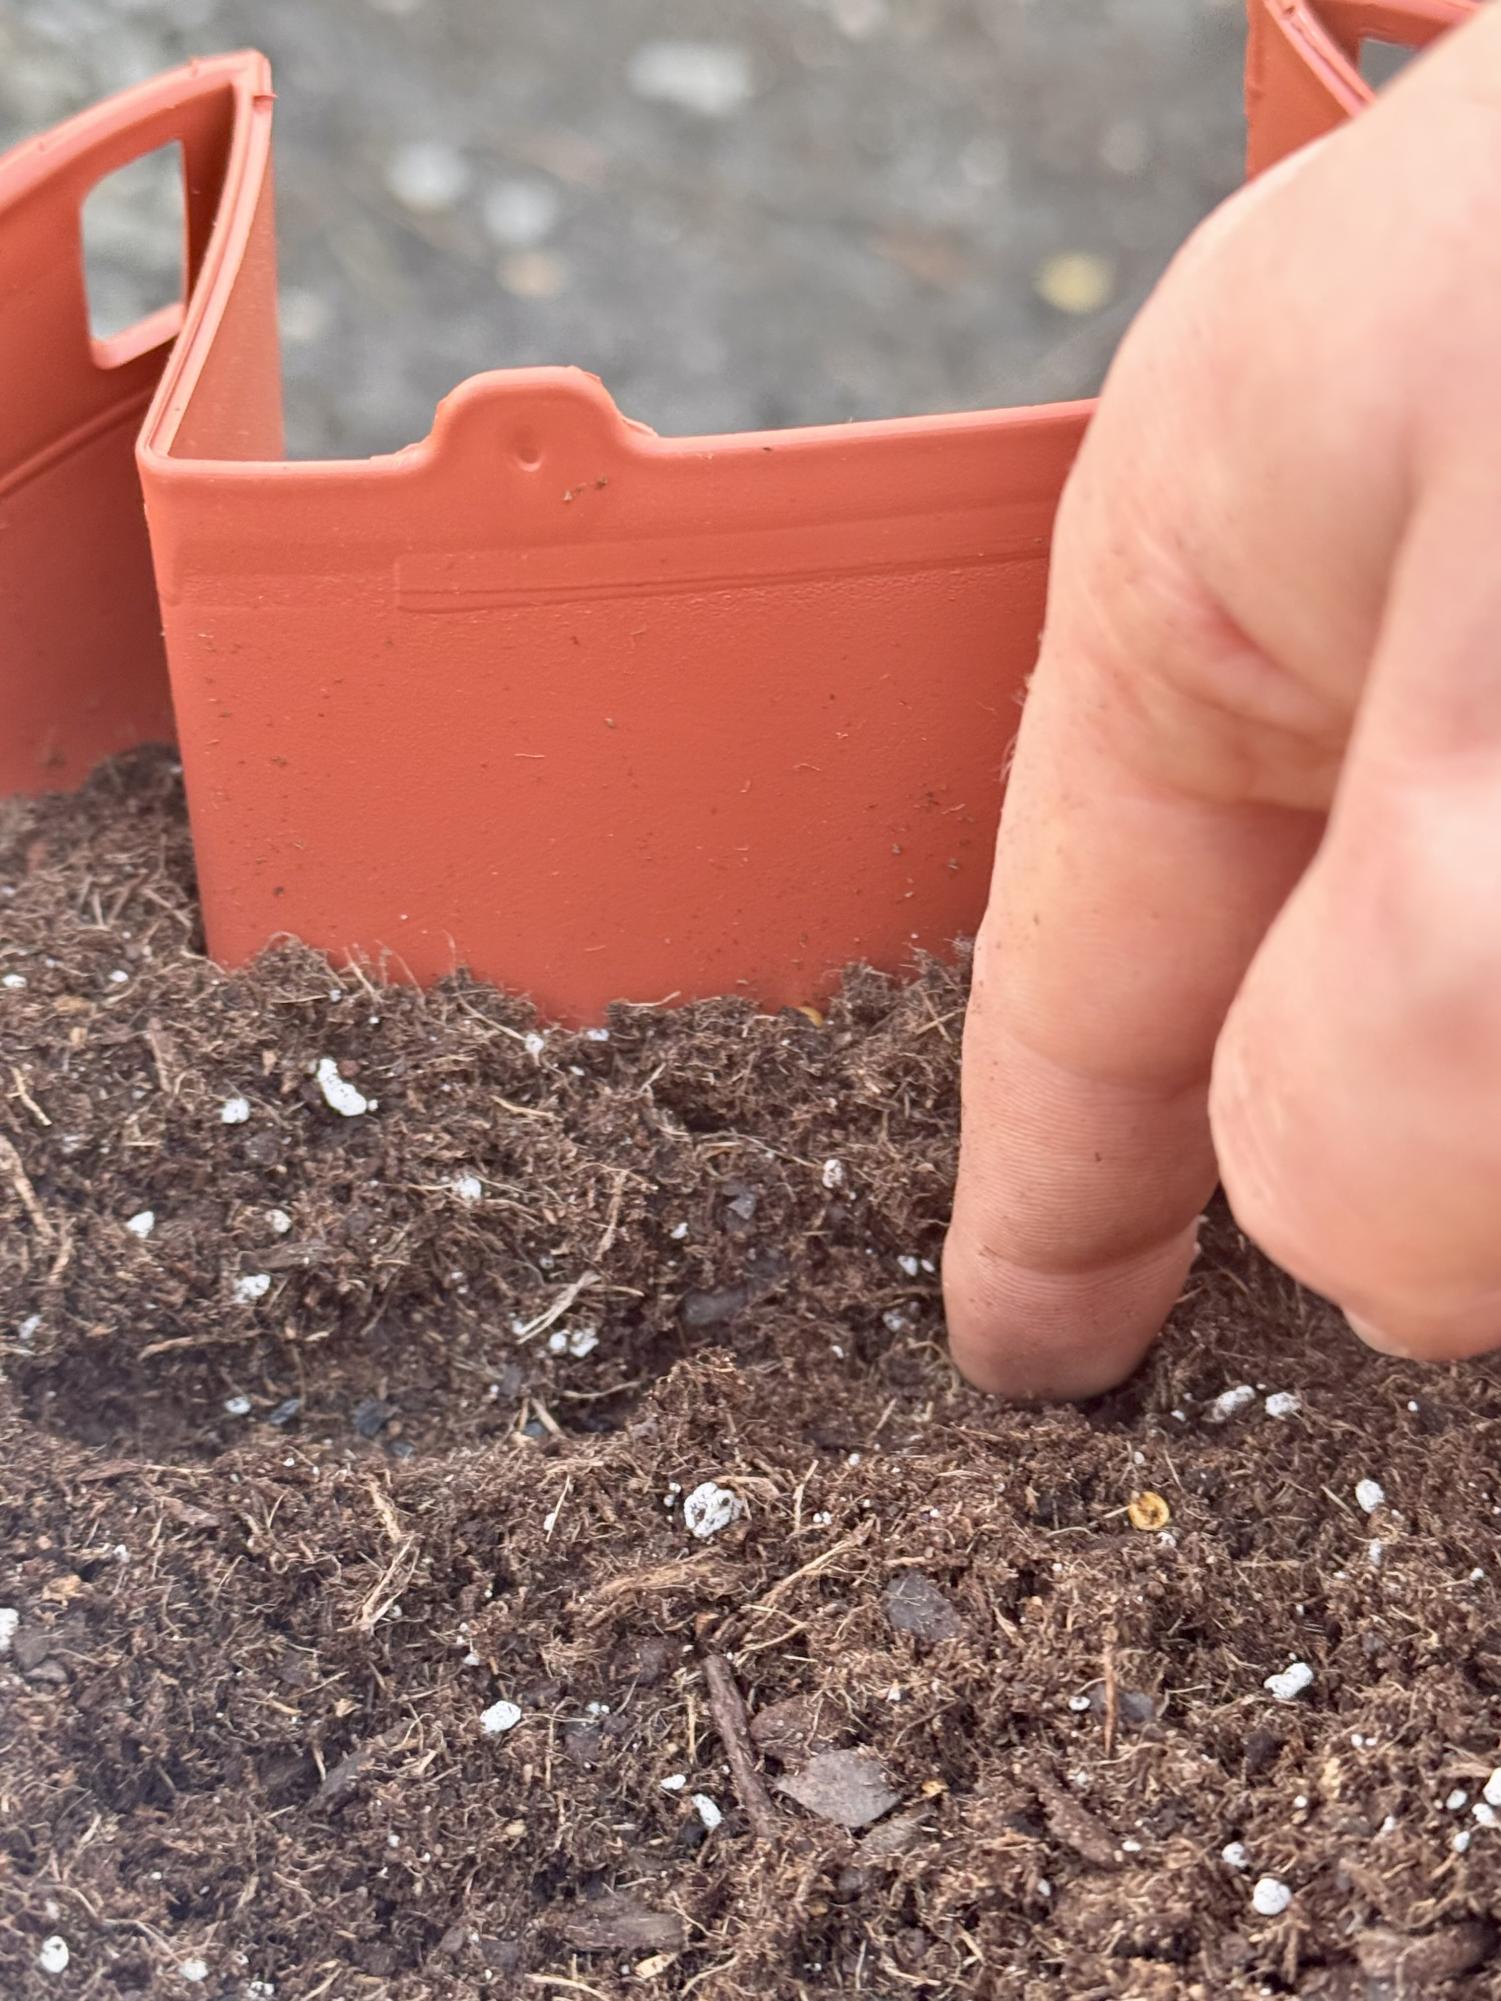
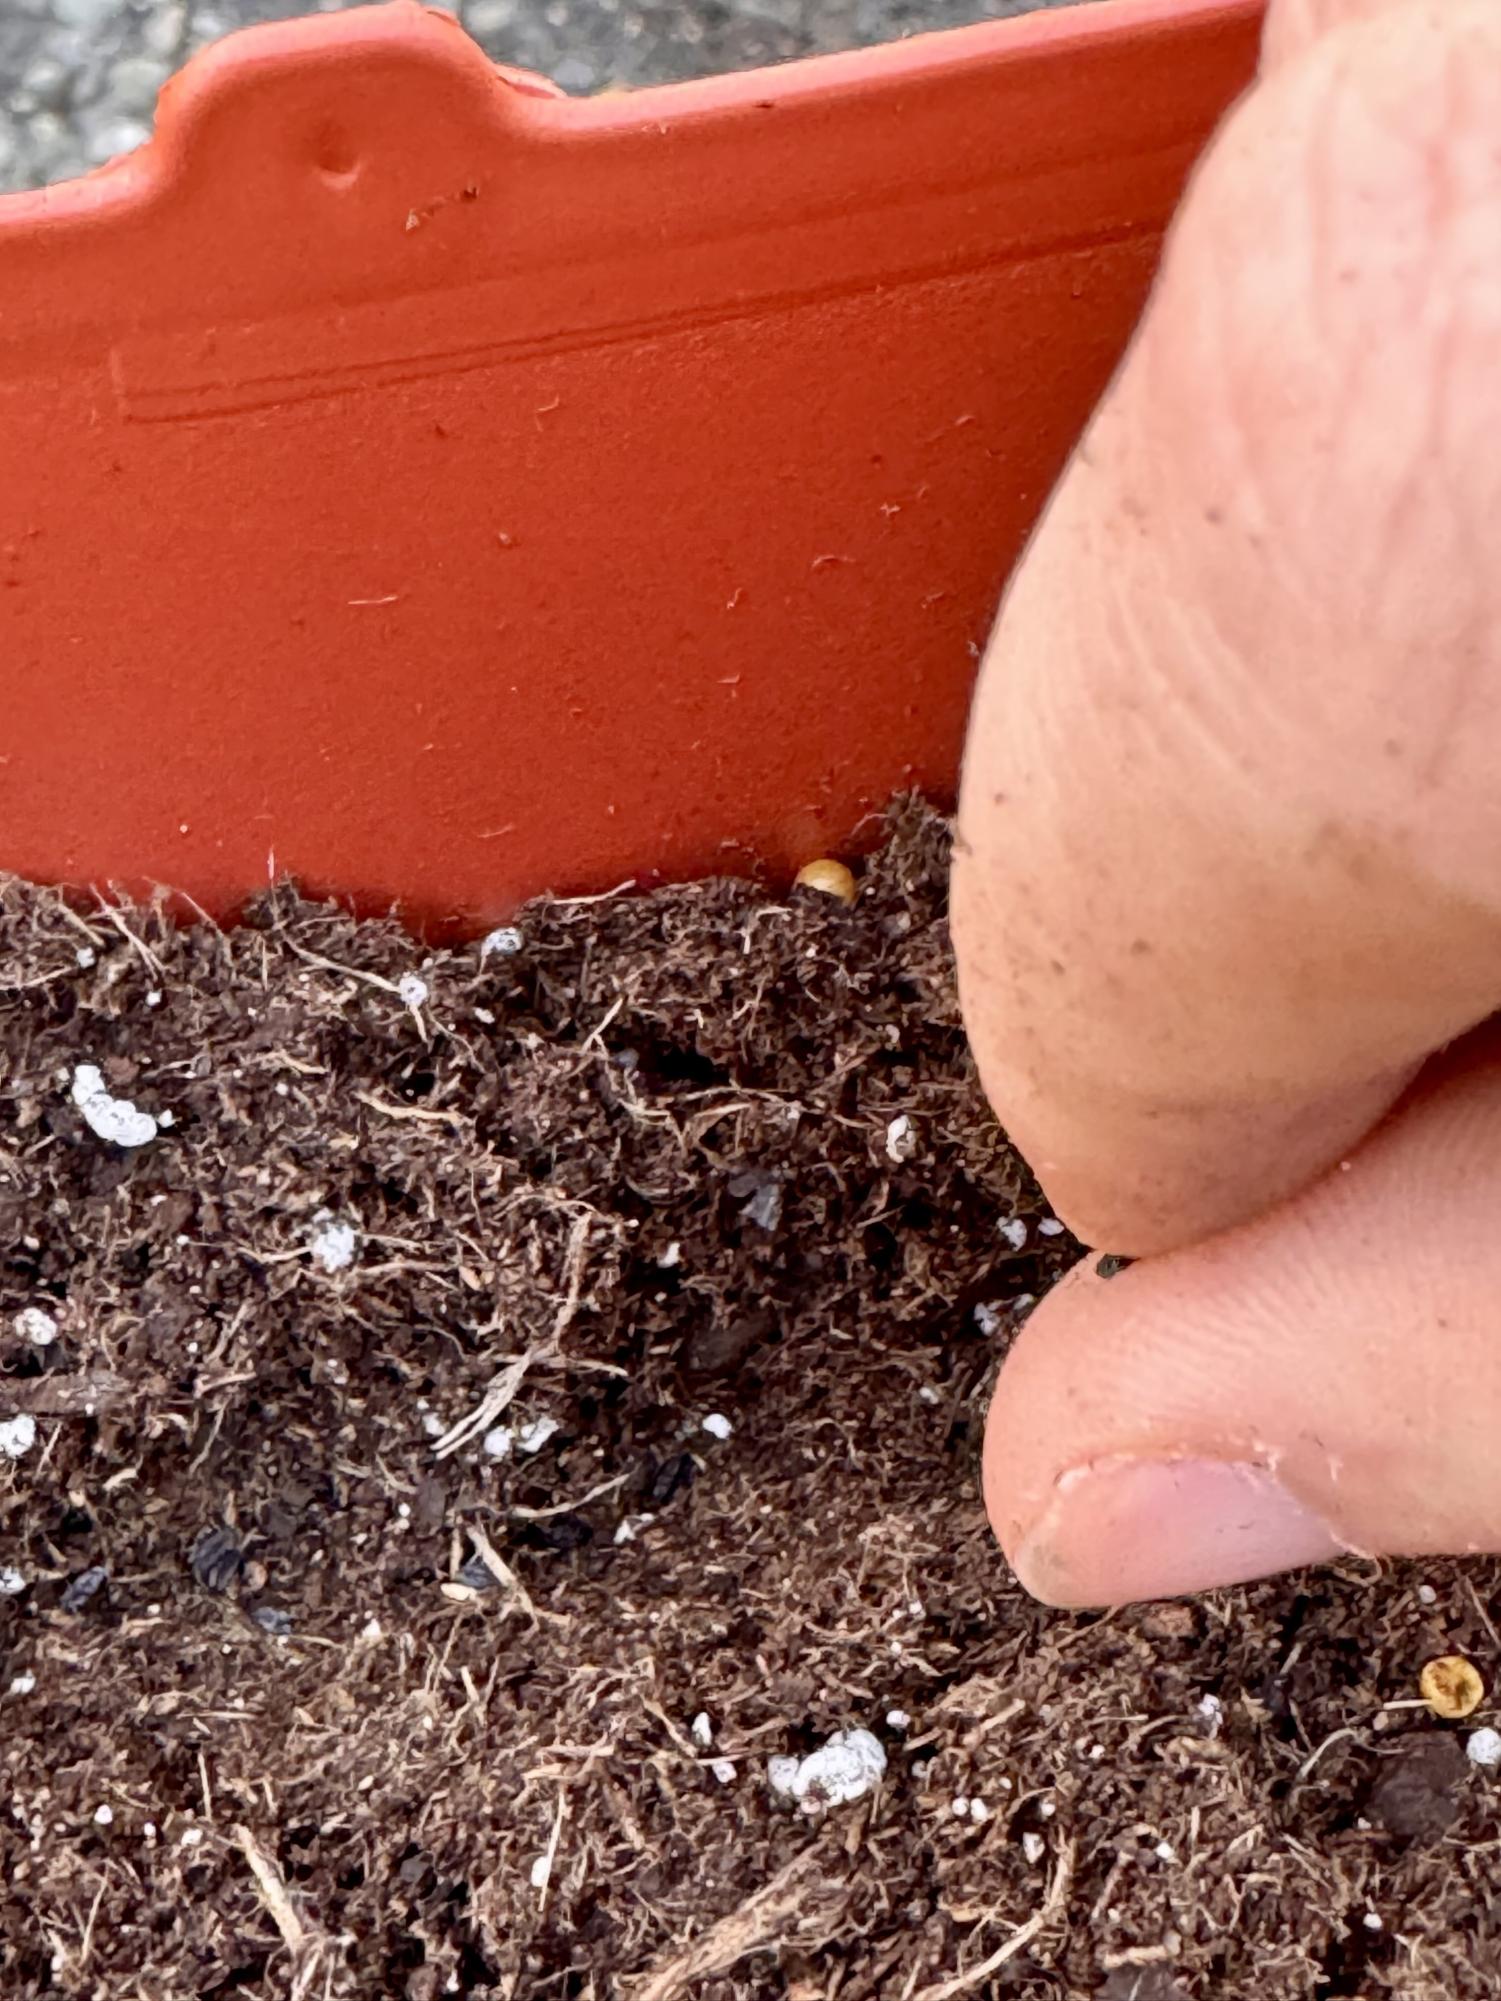
Different seeds call for different depths of planting and covering. (Shayne Crowley)
-
My seeds called for small divots and to not cover them with soil. (Shayne Crowley)
-
Please read the seed directions to ensure you’re planting them correctly. (Shayne Crowley)

-
Lightly press seeds down, but do not cover. No matter what seeds are chosen, many native pollinator seeds need sunlight to germinate. (Shayne Crowley)
-
You’ll want to leave about an inch from the top of the pot so the water never overflows. (Shayne Crowley)

-
For aesthetics, try planting the taller ones in the back of the pot to add depth. (Shayne Crowley)
-
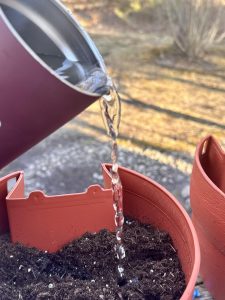
Water immediately after planting is done so the soil can settle. (Shayne Crowley)

-
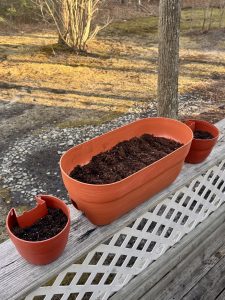
Now that you’re done, place pots where they can get AT LEAST 6 hours of sunlight daily. (Shayne Crowley)


Step 1: Choosing the Setup
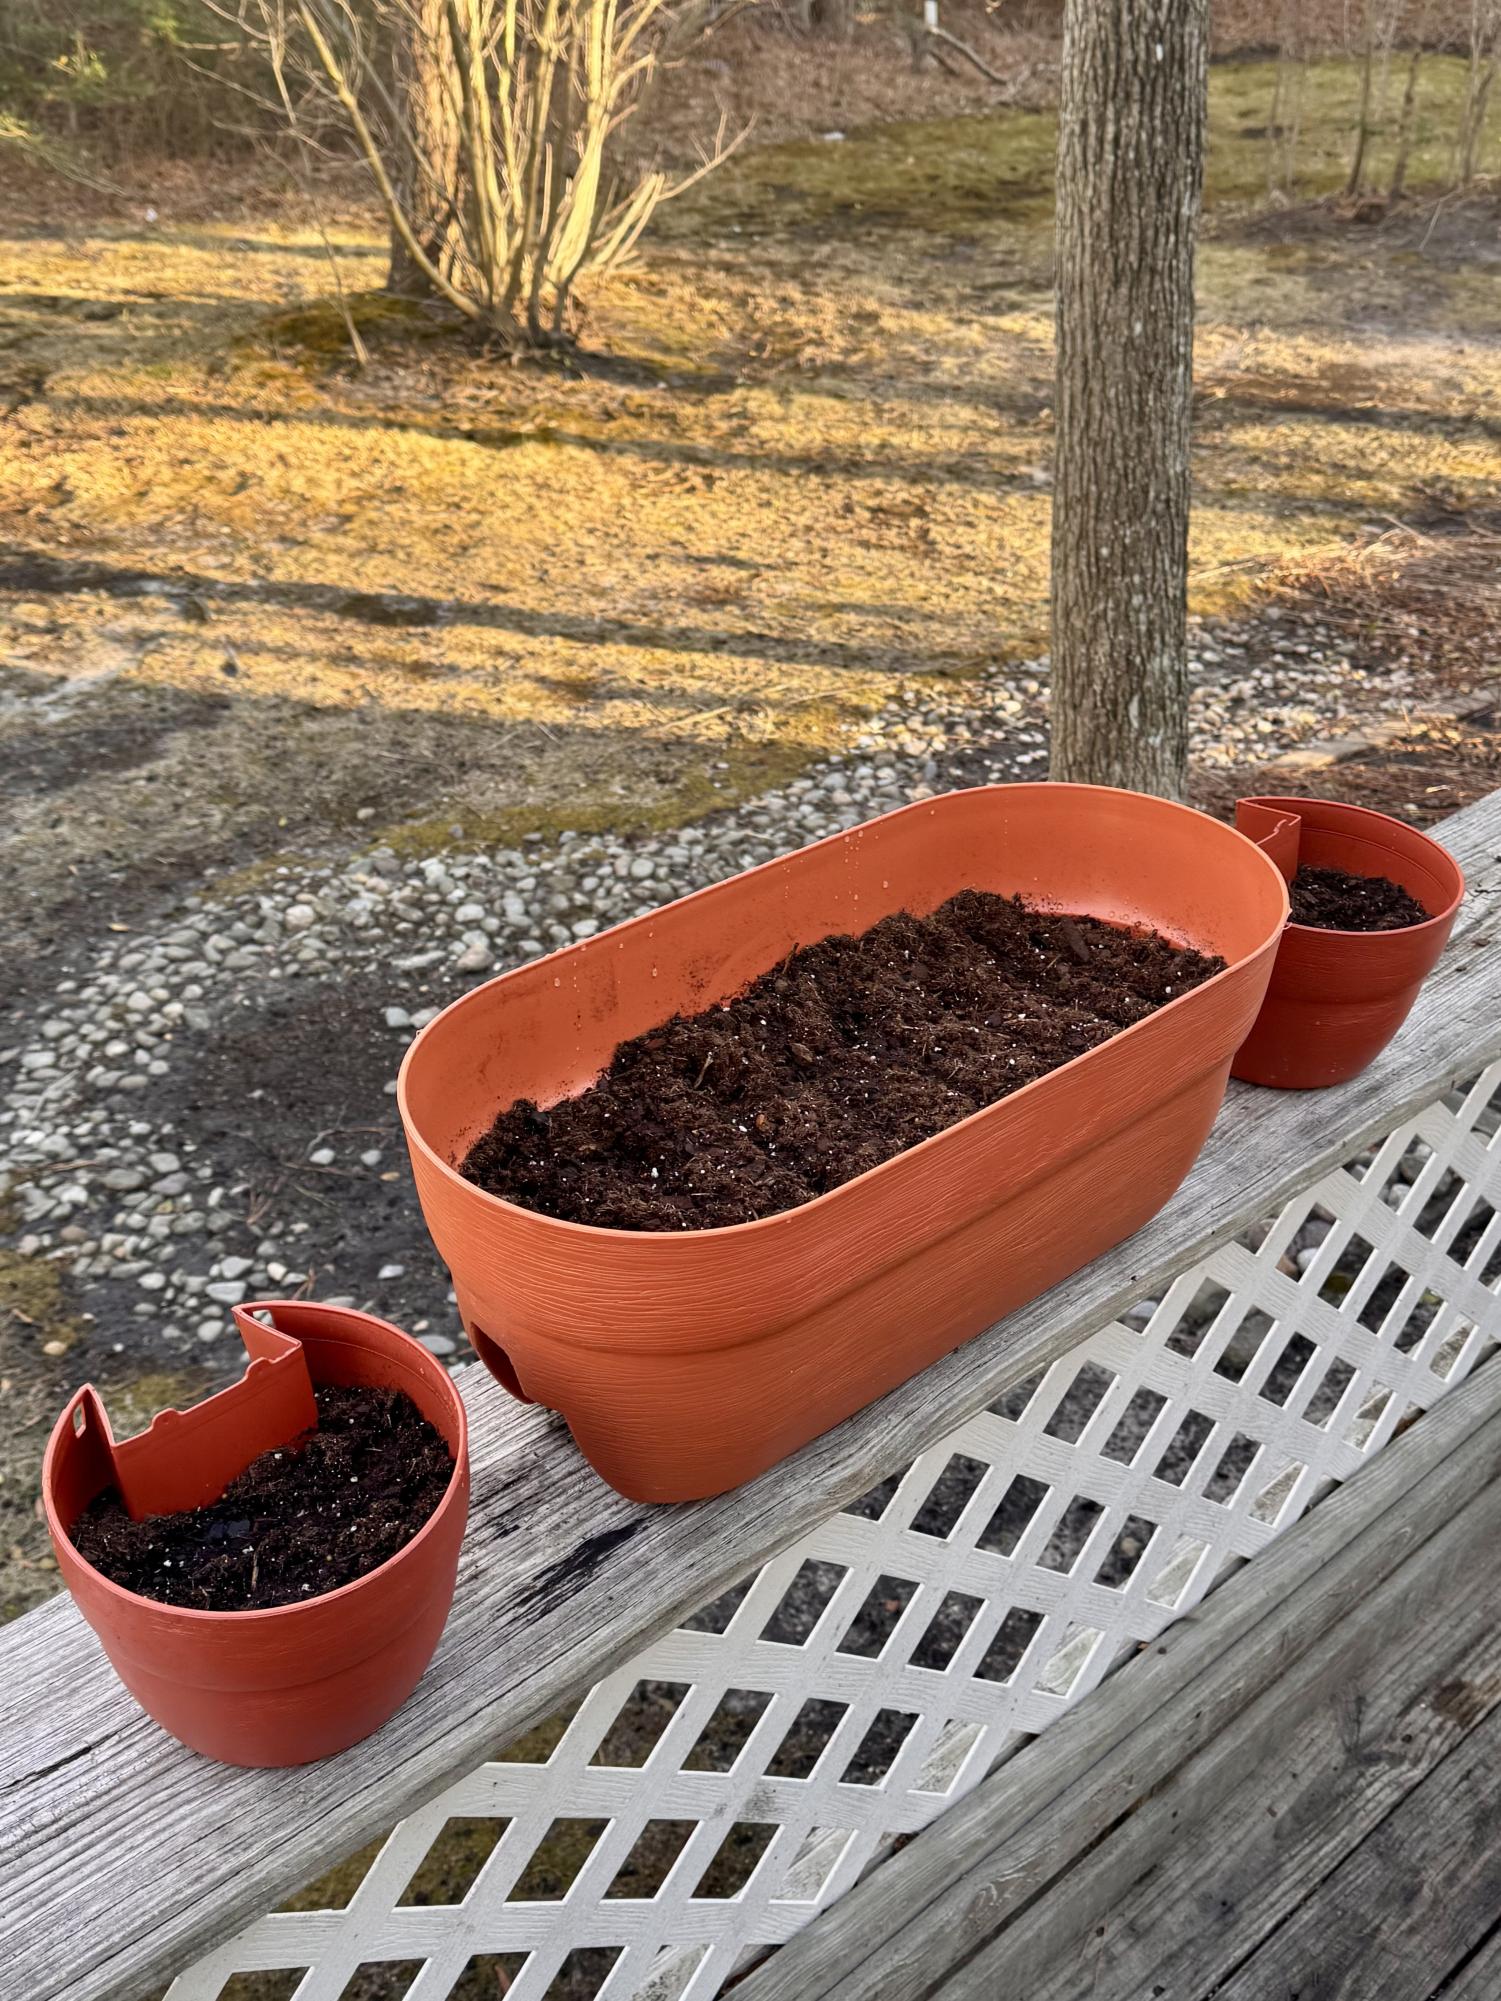
I chose to use pots to build my native garden (rules in my area), but its also a great way to show that you can do this anywhere you’d like!
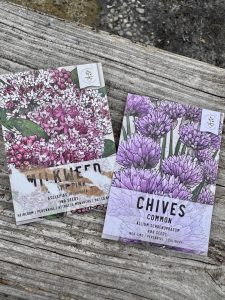
Try using different depths of pots for different types of plants: deeper pots for milkweeds and smaller pots for flowers. I will be planting Milkweed and Chives in my pots for my area. Both were selected for their ability to attract and give shelter to Monarch Butterflies, pollinators in my area.
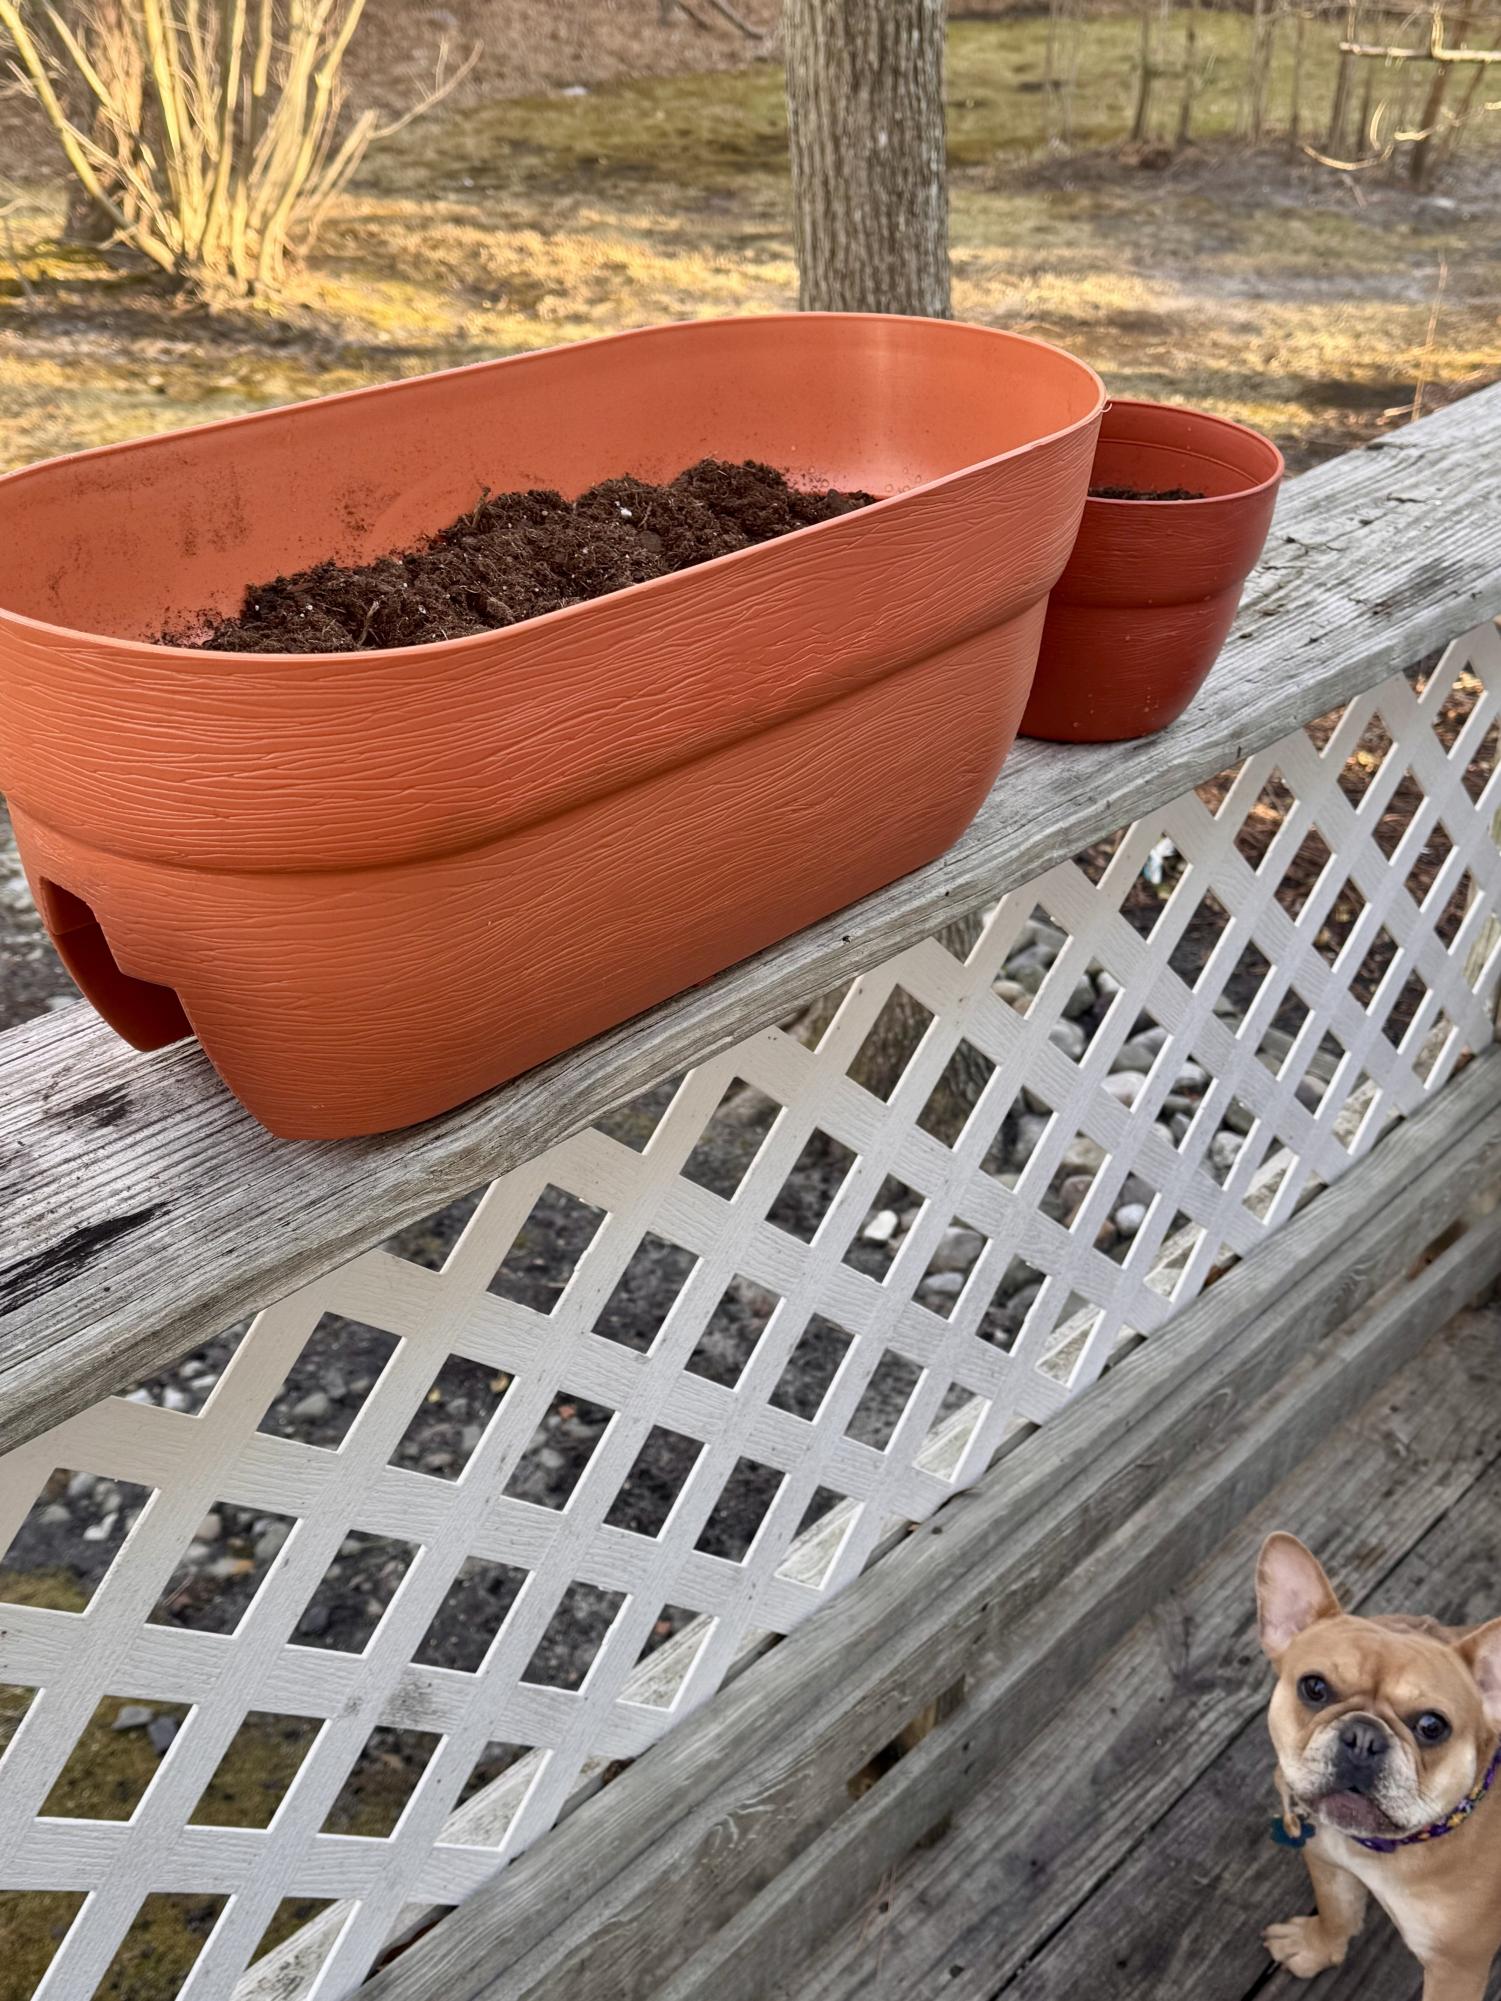
When selecting the pots, make sure they have drain holes. This helps prevent root rot, so if yours do not, drill some in!
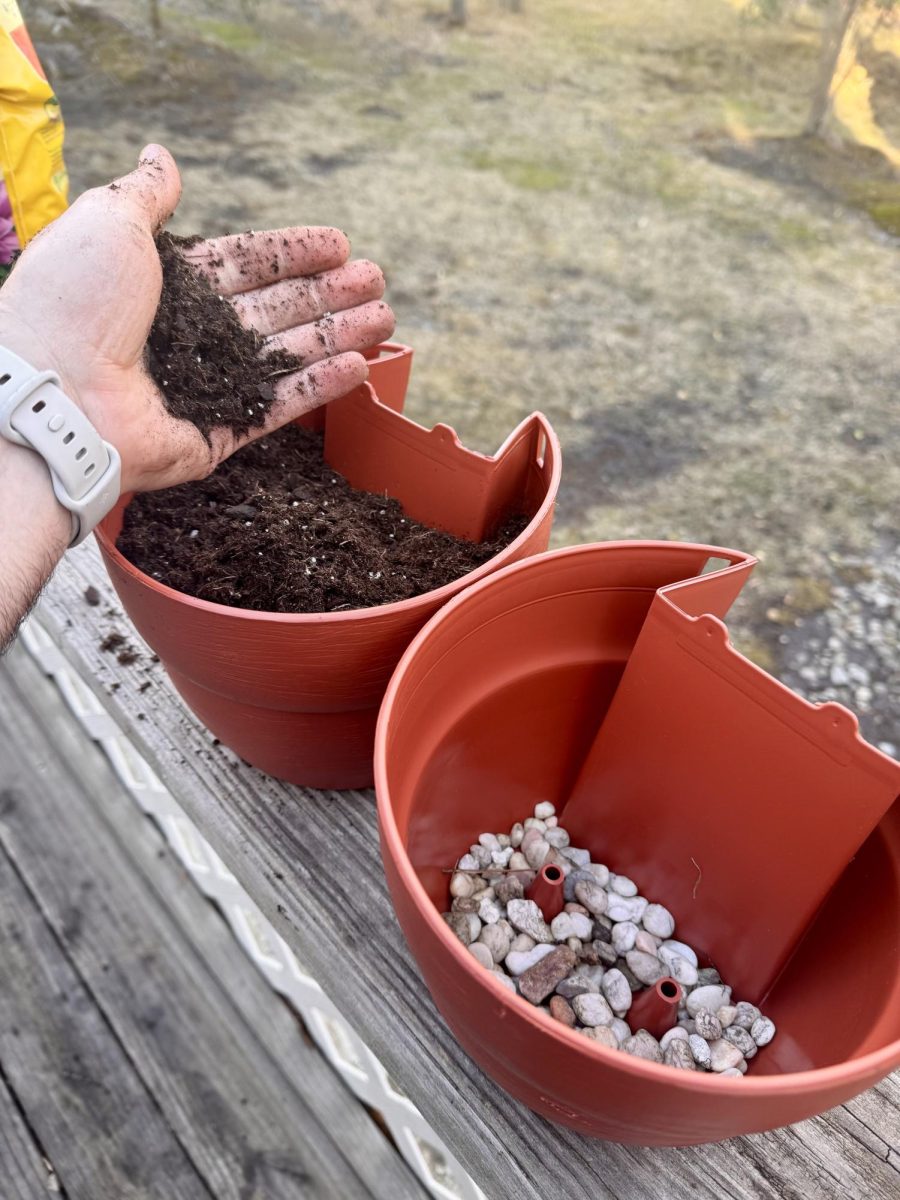
Step 2: Prepare the Pots
Begin by adding a layer of small rocks at the bottom of each pot for better drainage (broken pottery also works). You want it to be about an inch deep for 8—to 10-inch pots and 2 inches deep for 12-inch pots.
Next, fill the rest of the pot with your choice of potting soil (mixed with compost for nutrients if you can). You’ll want to leave about an inch from the top of the pot so the water never overflows.
Step 3: Plant Native Pollinator
(It should be said that this process should begin in the early spring, right after the last frost)
This step will vary depending on your seed choice. Different seeds call for different depths of planting and covering. My seeds called for small divots and to not cover them with soil (please read the seed directions).
For aesthetics, try planting the taller ones in the back of the pot to add depth.
Lightly press seeds down, but do not cover. No matter what seeds are chosen, many native pollinator seeds need sunlight to germinate.
Step 4: Water
Water immediately after planting is done so the soil can settle.
Overtime, keep the soil moist, but not overly soggy–check daily.
(optional) add a thin layer of mulch on top to help retain moisture.
Step 5: Arrange & Maintain Your Mini Garden
Now that you’re done, place pots where they can get AT LEAST 6 hours of sunlight daily.
If you chose different-sized plants for your pots, keep the taller ones in the back so they don’t cast shade over the smaller plants.
Overtime, remove spent blooms to encourage growth.
Lastly, leave stems and dried plants in the winter–pollinators can use them for shelter!
I will update you on my mini garden’s progress over the coming weeks!
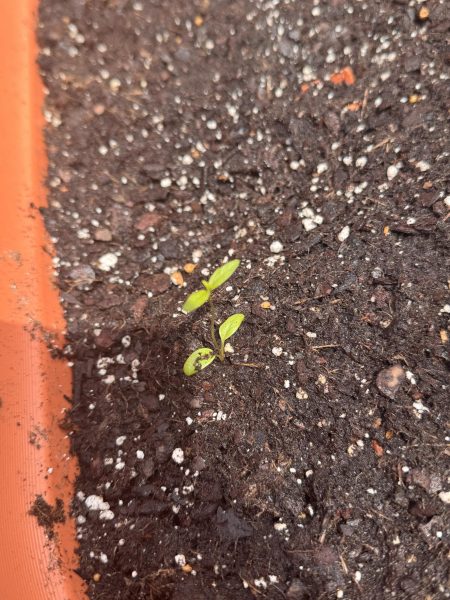
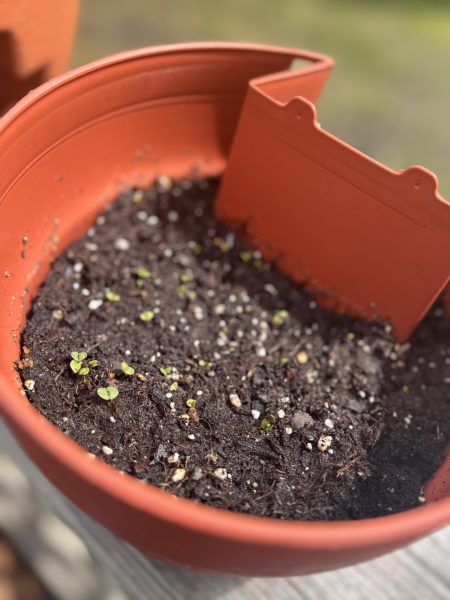
Update: Sprouts from the pollinator garden began to show about five weeks after they were planted.