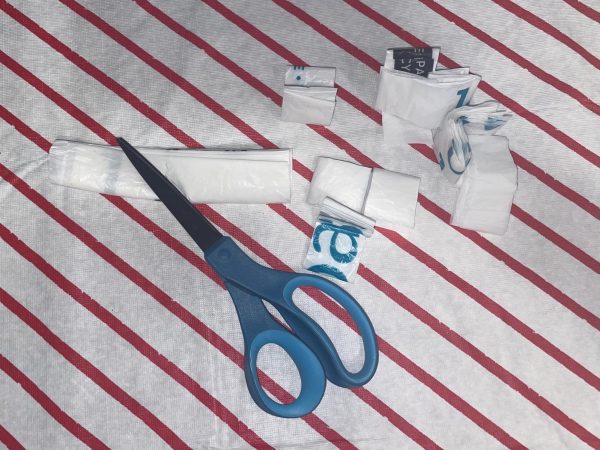
Since New Jersey’s ban on single-use plastic bags in the state, you might find yourself with bunch lying around and absolutely no ideas for what to do with them. But luckily, there are some pretty cool things you can do with them, and all you need are some bags, a pair of scissors, and a crochet hook of your choice!
The practice is commonly known amongst crocheters as ‘plarning’ (a portmanteau of “plastic” and “yarn”), and you can use it to make countless things! Common examples include charity sleeping mats, outdoor mats, or even reusable shopping bags and baskets. Not only does plarning get disposal plastics out of landfills, but it can help create durable items with various usages.
Materials:
– Disposable plastic shopping bags
– Sharp scissors
– A crochet hook (any size, depending on the project and desired outcome. I personally use either a C hook or an H hook!)
– A ruler (optional)
Directions:
Before Starting: You’ll need to be at a table or at a flat working surface! Make sure that it’s clear of any clutter or anything that may get in the way and please be careful while using the scissors. You will likely need about 10-25 for a small-medium sized project, and more if working on a larger project!
1. Lay your bag flat on your work surface. Make sure to pick a bag with minimal rips and tears — tears in the handles or bottoms are okay, and minor tears are workable, but if a bag has large holes, it may be unsuitable for the project!
2. Trim off the handles and the bottom seam of your bag, which should now look like a rectangle
3. Unfold the side seams of the bag and lay it flat. It should now be a wide “loop” of plastic.
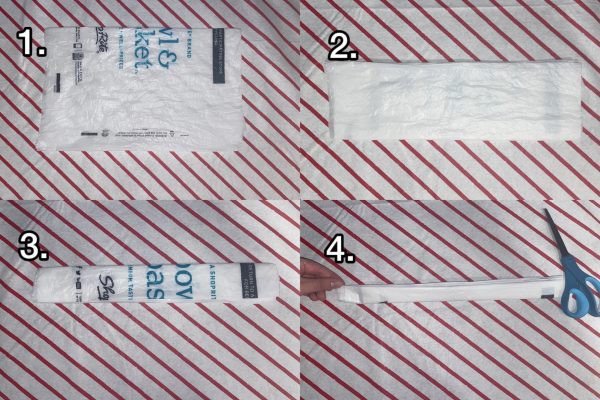
4. Take the two closed sides of the bag and fold it so that they touch (open ends should remain open)
5. Repeat three or four times until you are left with a thin strip of plastic.
6. Make cuts parallel to the open ends of the bag, about one inch apart. If you’d like you can use a ruler to keep your cuts consistent. You should then have one-inch wide loops of plastic
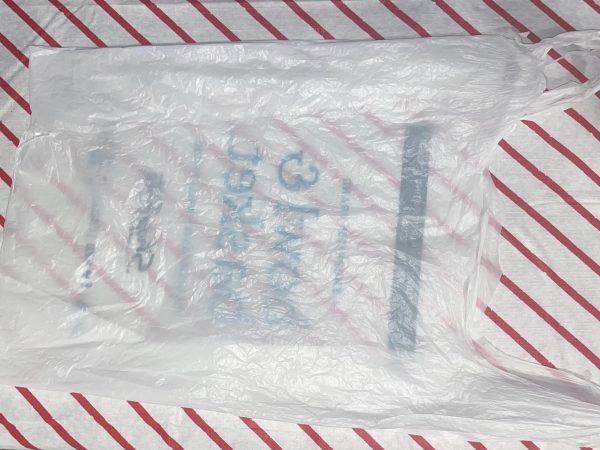
7. Unfold each of the loops so they can lie flat. They should still be loops, but at full length.
8. Once all of your loops have been unraveled, chain them together. If any of your loops are torn, simply tie the ends together and chain as you would normally!
9. Now that you have your strands of “plarn” you can organize it any way you like — personally I roll it into a ball, but you can also grab a piece of cardboard and use it as a spool! Moving forward in your project, when you’re running low on plarn, you can just chain more loops to the loose end and re-roll!
Note: I prefer to stick to similar bag colors for one project, but feel free to combine them or mix them up!
Recommended Crochet Patterns:
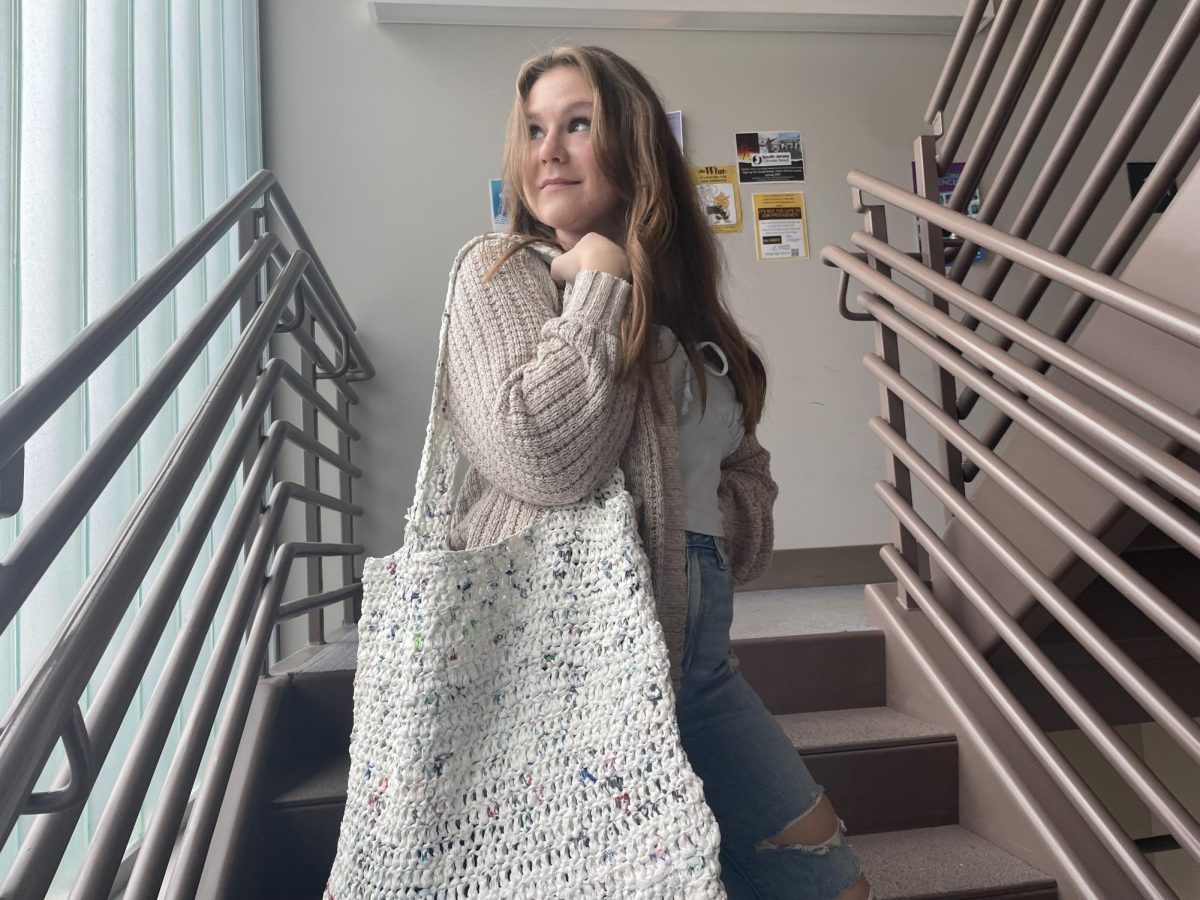
Like most crocheters will know, you can really crochet anything your heart desires! In the past I’ve made tote bags, crossbody messenger bags, and storage baskets with my plarn, and that barely scratches the surface of what you can do.
If you need any ideas or prefer to follow crochet patterns, I recommend checking the following!
Sleep Mat (Vickie Howell)
DIY: Plarn Bag (Daily Evergreen)
Plarn Sandals (Cindy RecycleCindy / Ravelry)
Plarn Welcome Mat (Crochet is the Way)
Floppy Plarn Hat Pattern (My Recycled Bags)